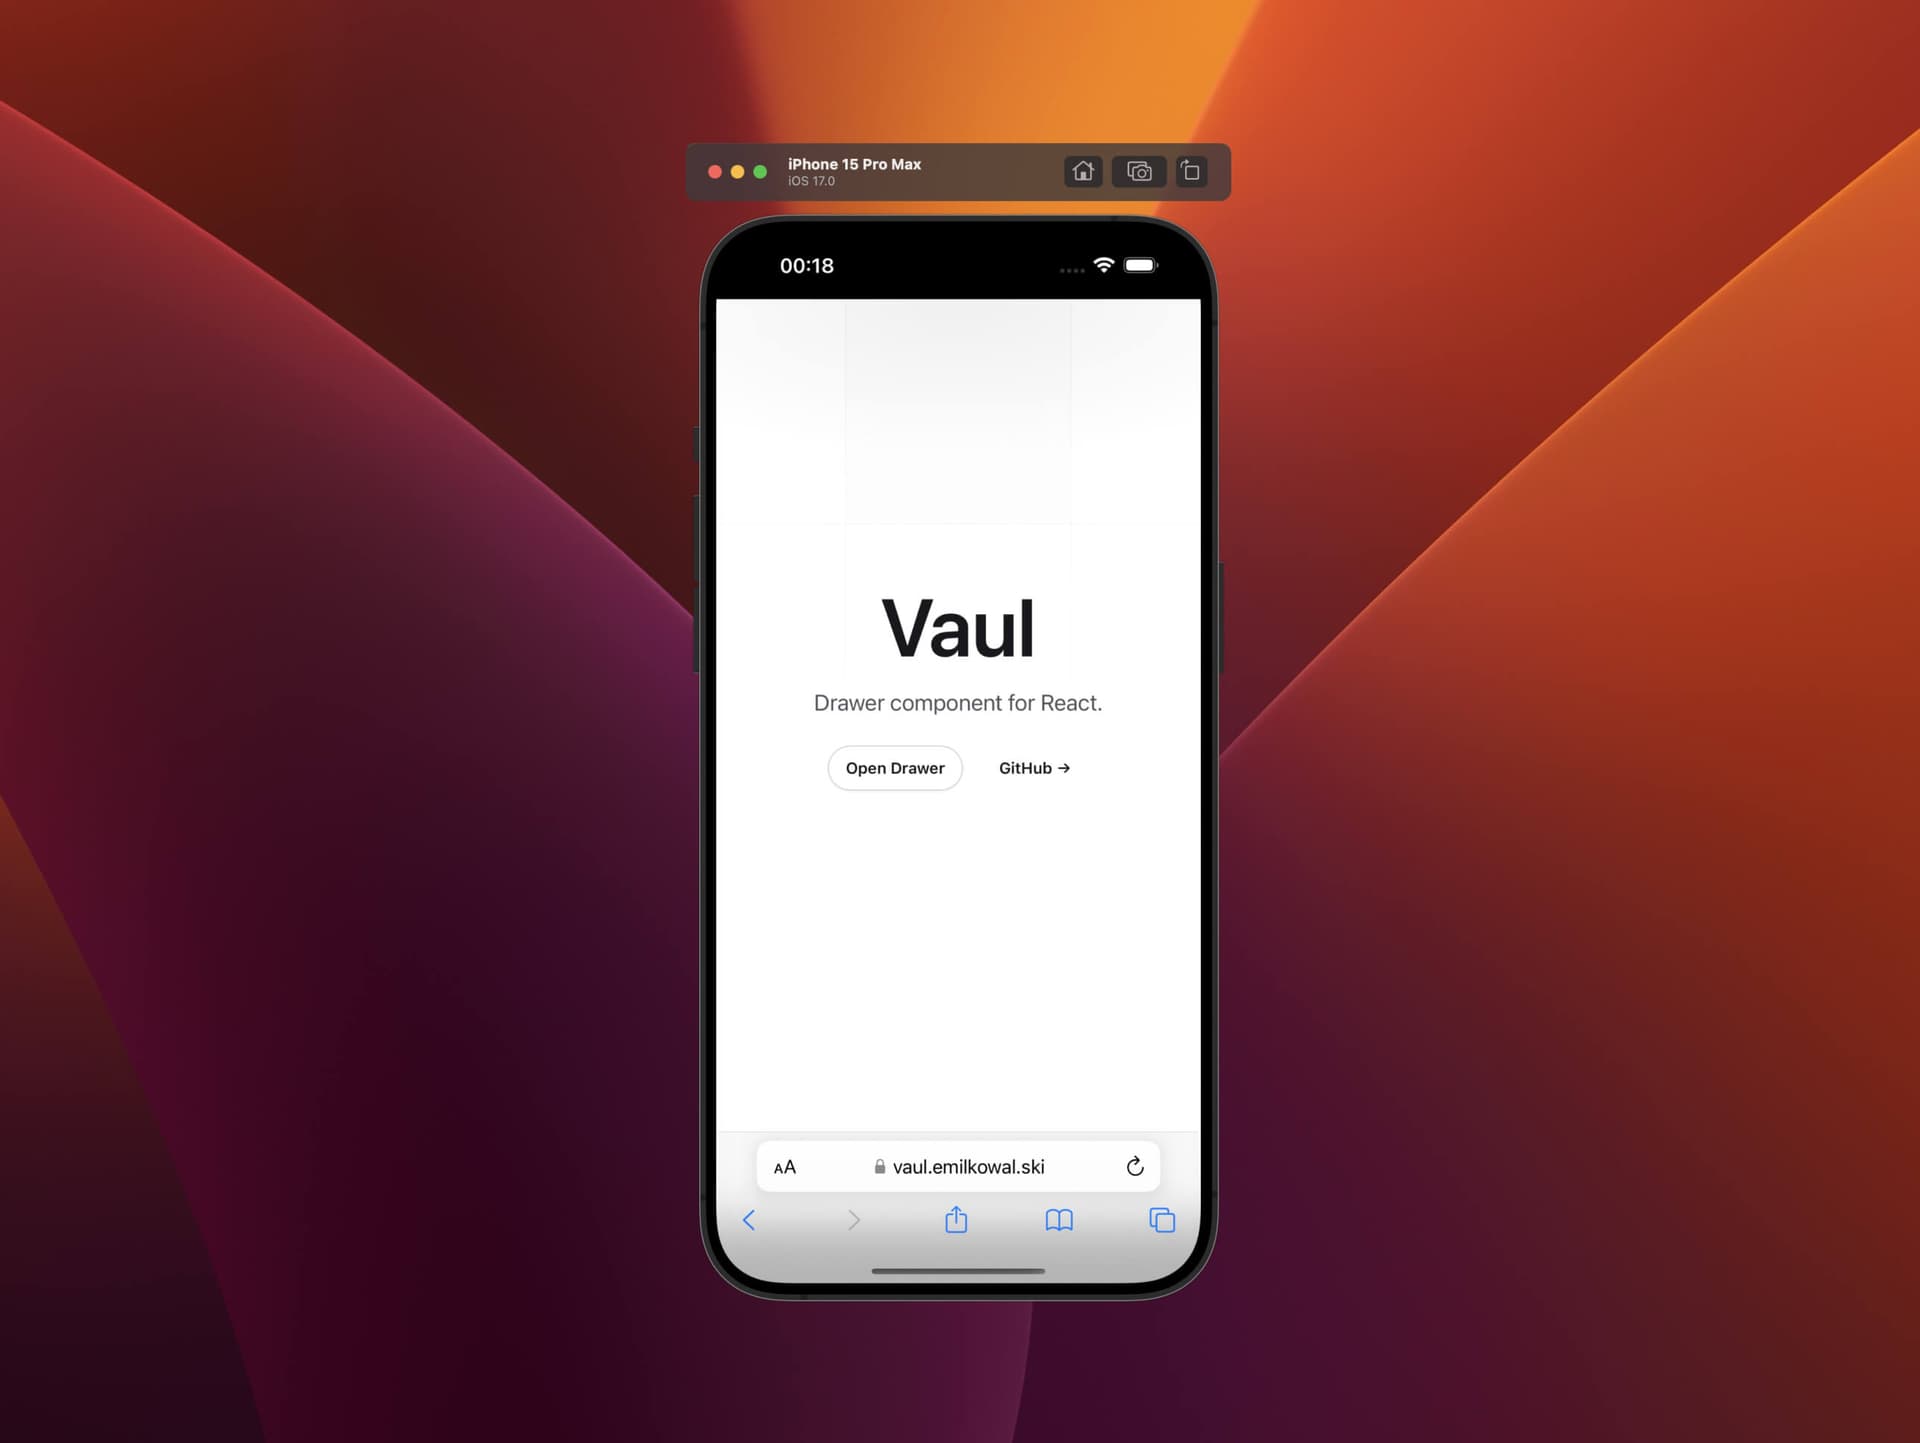
Building a drawer component
Using Apple’s Sheet component on iOS feels natural, I wanted to create the same experience, but for the web. That’s how Vaul was born. In this article, I’ll talk about the build process and the challenges I faced. This library is not finished yet, I’ll be adding more of my notes here as the component matures.
Why a drawer?
I prefer using a drawer instead of a modal on mobile for a more native feel. At Vercel, we were already using such component, but it lacked drag-to-dismiss functionality and had issues with inputs. I decided to build a new one from scratch and made it open-source.
Open-sourcing meant that more people will use it, which will result in more feedback, ultimately making the component better. It also feels rewarding to see people use stuff you’ve built.
Anatomy
I chose to build Vaul on top of Radix’s Dialog primitive. Radix ensures the component is accessible, handles focus management etc. I also made Vaul’s API is very similar to Radix’s, so that it feels familiar.
export default () => (
  <Drawer.Root>
    <Drawer.Trigger />
    <Drawer.Portal>
      <Drawer.Content />
      <Drawer.Overlay />
    </Drawer.Portal>
  </Drawer.Root>
);
Drag gesture
Not losing frames while dragging is a good start, but I already failed there.
Once the content of the drawer got bigger than ~20 list items the drag gesture became laggy, and I couldn’t figure out why. Dragging was done without any re-renders, so what could cause it to drop frames? Every time the drag position gets updated, I change a CSS variable which then is used as the value for translateY().
const style = {
  "--swipe-amount": `${draggedDistance}px`,
};
Since CSS Variables are inheritable, changing them will cause style recalculation for all children, meaning the more items I have in my drawer, the more expensive the calculation gets. Updating the style directly on the element fixed the issue. This seems like a quick fix in retrospect, but it took me hours to figure out.
const style = {
  transform: `translateY(${draggedDistance}px)`,
};
I added momentum based dragging next. That way you don’t need to drag until a certain point to close the drawer, you can just flick it.
When you drag upwards while already at the top of the drawer, the drawer will damp the drag, meaning the more you drag, the less the drawer will move. It makes the interaction feel more natural, as things in real life don’t suddenly stop, they slow down first.
Scrolling
Making the element scrollable while also being able to drag it is tricky. I’ve written a shouldDrag function that doesn’t allow you to drag unless you are scrolled to the top of the drawer. This is very similar to how native drawers work on iOS.
We tend to scroll pretty fast on mobile devices, so it’s possible that you’ll scroll past the top of the drawer, meaning you’ll drag it and might accidentally close it, because the velocity is high enough. I added a timeout of 100ms, which prevents you from dragging in that time frame after you’ve reached the top again.
Background animation
You can also create an illusion of the <body> becoming another sheet by passing the scaleBackground prop. I then grab the [vaul-drawer-wrapper] element and apply the correct transform and border radius values to it.
I use a similar logic when dragging, but there, all the values are based on the drag progress. Dragging the drawer down by 40% will change the border radius to 60% of its max value, and so on.
Motion
The curve used in Vaul closely matches the one used in iOS; it’s from the Ionic Framework. Duration of 500ms is also supposed to mimic iOS’s Sheet. Using the right easing and duration makes a big difference in terms of how this, and any other component, feels.
If you are interested in motion, you might want to check out a course of mine called Animations on the Web.
.drawer {
  transition: transform 0.5s cubic-bezier(0.32, 0.72, 0, 1);
}
Inputs
When the user focuses on an input, the virtual keyboard will show. The browser will then scroll upwards to make sure the input is visible, which means the drawer will be pushed upwards, potentially hiding some important content.
To prevent that, we disable this browser behavior and handle it using Visual Viewport
API instead.
We setup an event listener for visualViewport change. When the keyboard shows,
the visualViewport height will decrease and vice-versa. We then use this information
to update the drawer’s height and position accordingly.
// This code is simplified for the sake of this article
React.useEffect(() => {
  function onVisualViewportChange() {
    const visualViewportHeight = window.visualViewport.height;
    const keyboardHeight = window.innerHeight - visualViewportHeight;

    // Difference between window height and height excluding the keyboard
    const diffFromInitial = window.innerHeight - visualViewportHeight;

    const drawerHeight = drawerRef.current.getBoundingClientRect().height || 0;

    drawerRef.current.style.height = `${visualViewportHeight - OFFSET}px`;
    drawerRef.current.style.bottom = `${Math.max(diffFromInitial, 0)}px`;
  }

  window.visualViewport?.addEventListener("resize", onVisualViewportChange);

  return () =>
    window.visualViewport?.removeEventListener(
      "resize",
      onVisualViewportChange,
    );
}, []);
Additionally, changing the position of the drawer to sit right above the keyboard will make it fully scrollable. That wouldn’t be the case if we stuck with browser’s default behavior.
The only downside to this approach is that there is a slight delay between the height change. That happens, because we get the new visual viewport height after the keyboard is fully visible, because that’s how the "change" event works there. It’s not ideal, but I found that this approach works best.
Multi touch
If you’d drag with one finger and decide to use another finger, the drawer would normally jump to the new position. We simply ignore all touches after the initial one until the user releases to prevent this.
function onPress() {
  if (isDragging) {
    return;
  }

  // ...
}
It’s minor, but makes a difference. People use drawers on native OSes frequently, which creates certain expectations. If we didn’t address this, the drawer would feel off. The goal is to make the user interface feel natural by incorporating those seemingly invisible details. They are ’invisible’ because they align with users’ inherent expectations. When a feature functions as you assume it should, you proceed without giving it a second thought, which is our goal.
Snap points
You can have multiple "checkpoints" in your drawer, meaning you can drag it to a certain point and it will snap to it. This is a common pattern on iOS. Below, you can see it being used in Apple Maps.
Every time you drag and release, we check which point is closest to the current position and then snap to it, provided you have specified the snap points, of course. The snap points can either be a fraction of the viewport or a fixed value in pixels. Fixed values are particularly useful when you want to ensure that an input evenly sticks out on all devices, for example.
This is also momentum based, which is shown on the video above. If you flick hard enough, the drawer will skip some points or even close completely, same with dragging upwards.
Safari Theme Bar
I wanted to match Safari’s theme color with the current background color of our app. Unfortunately, you can’t use CSS transitions and semi-transparent colors in the theme bar. So, I calculated what the non-transparent color would be if you used a semi-transparent overlay on a solid background.
function getNonTrasparentOverlayColor(rgbaStr: string, background: RGB): RGB {
  const [r, g, b, a] = extractRGBA(rgbaStr);

  const rgb: RGB = [
    Math.round(a * r + (1 - a) * Number(background[0])),
    Math.round(a * g + (1 - a) * Number(background[1])),
    Math.round(a * b + (1 - a) * Number(background[2])),
  ];

  return rgb;
}

getNonTrasparentOverlayColor("rgba(0, 0, 0, 0.5)", [255, 255, 255]);
This would give me a non-transparent rgb value for a dark, semi-transparent overlay on a white background, which would match the drawer overlay color perfectly. Now, I can interpolate between the background color and the non-transparent color. I created 50 steps, which means I have an array of 50 different color values. I can then update the meta tag value every 10ms after I open the drawer to create a smooth transition. We used 10ms, because we have 50 colors and our CSS transition is 500ms, so 10x50 will match the duration.
However, interpolating the colors will give us a linear transition. The drawer uses
a custom bézier curve which means the animation won’t match. So, I made sure the
interpolation is done using the same curve as the drawer with the help of bezier-easing
library.
function interpolateColor(color1: number[], color2: number[], factor: number) {
  if (arguments.length < 3) {
    factor = 0.5;
  }
  let result = color1.slice();
  for (let i = 0; i < 3; i++) {
    const delta = color2[i] - color1[i];
    const newColorComponent = linear
      ? color1[i] + factor * delta
      : color1[i] + easing(factor) * delta;
    result[i] = Math.round(newColorComponent);
    if (result[i] < 0) result[i] = 0;
    if (result[i] > 255) result[i] = 255;
  }
  return result;
}

function interpolateColors(
  color1: number[],
  color2: number[],
  steps: number
): number[][] {
  let stepFactor = 1 / (steps - 1),
    interpolatedColorArray = [];

  for (let i = 0; i < steps; i++) {
    interpolatedColorArray.push(
      interpolateColor(color1, color2, stepFactor * i)
    );
  }

  return interpolatedColorArray;
}
We also needed a linear interpolation for the drag interaction. When the user drags we pick the right color from the array based on the drag progress and set that value as the meta tag value.
function onDrag(dragProgress: number) {
  const metaTag = document.querySelector('meta[name="theme-color"]');

  // Get the index of the color based on the drag progress
  // dragProgress is a value between 0 and 1
  let colorIndex = Math.floor(dragProgress * interpolatedColorsLinear.length);

  const color = interpolatedColorsLinear[colorIndex];
  metaTag.setAttribute("content", `rgb(${color.join(",")})`);
}
This isn’t available in Vaul yet, as it doesn’t match the overlay transition when some frames are dropped. I wanted to share this idea with you nonetheless. I’ll come back to it at some point and update this section.
Debugging
With a component like this you can’t just simply open the dev tools and make the window smaller. You need to have the same environment as an actual mobile device. Most of the time, I used my phone which I then connected to my computer with a cable, this allowed me to use the devtools in Safari on my laptop, while testing on a physical phone. I was able to visit my local development server by typing in my computer’s IP address and the port number. This is possible because both my phone and my computer are connected to the same network.
An alternative would be Xcode Simulator on macOS which offers a replica that matches an actual phone almost exactly.
Getting creative
Not every drawer has to look the same. Vaul is customizable, we can style it however we want, we can compose it however we want. I’ve recreated Family’s Drawer below to show you what’s possible.
We build this component (and more) together in my animations course. It’s a course that teaches the theory behind great animations, but also how to build them in code.
Check out animations.dev